Virtual Servo Controller tutorial v0.1
Virtual Servo Controller is a software which control the Veyron Servo Driver 24-Channel which designed by DFRobot which can control robot.
How to install DFServo?
First, download and install the program

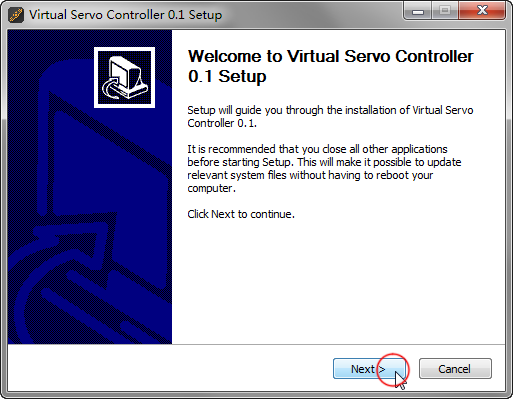
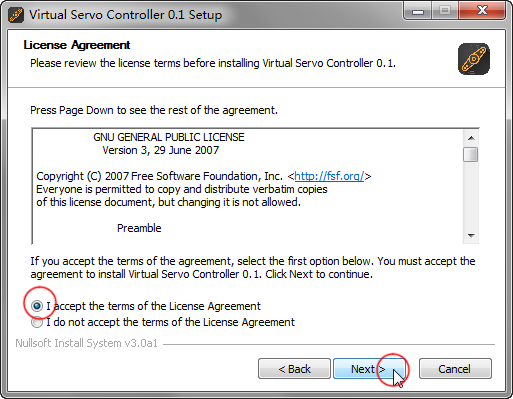
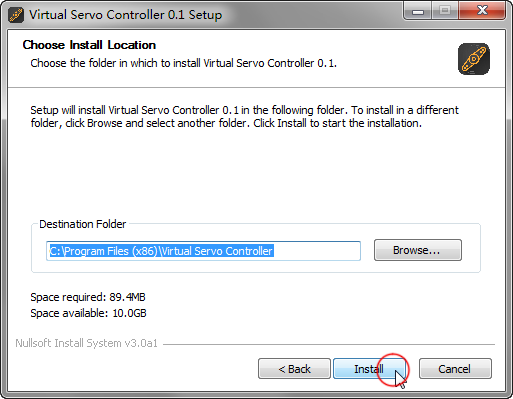
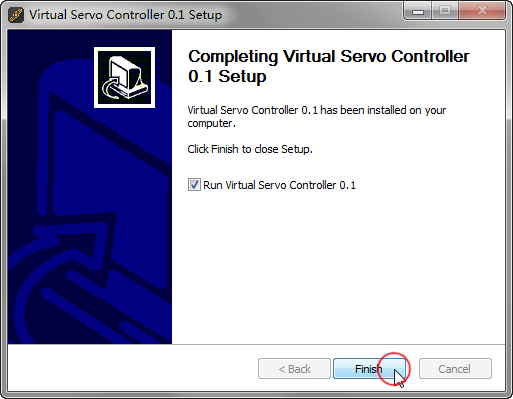
Open the program from your desktop

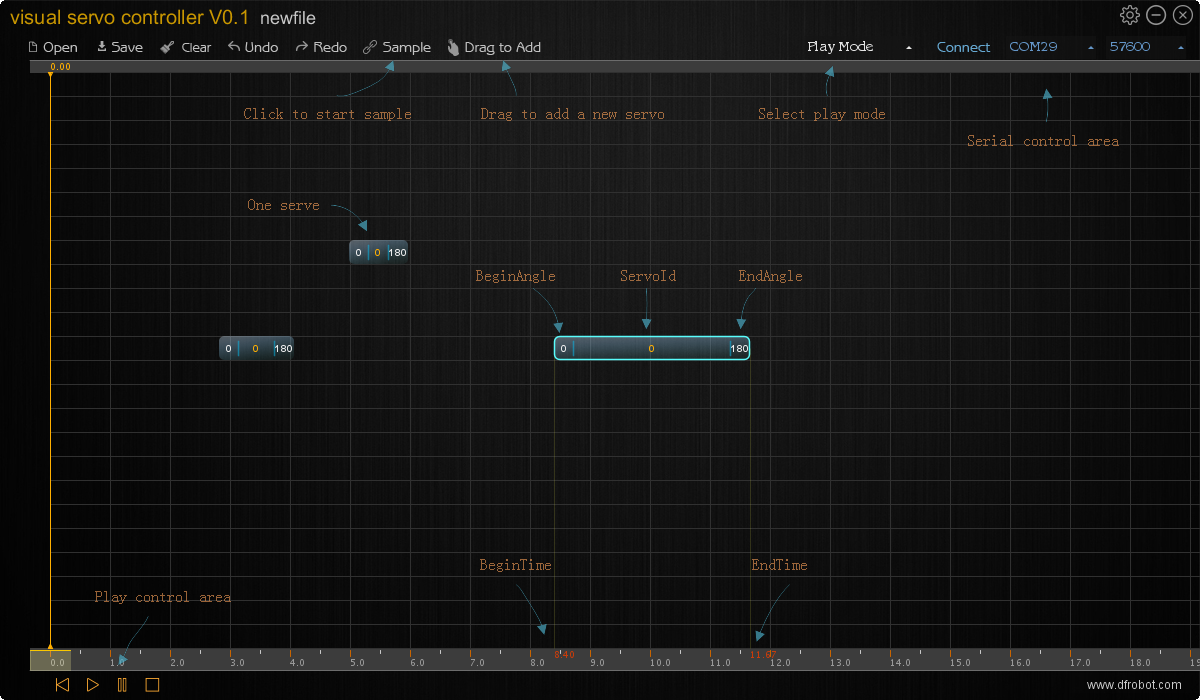
Software interface description :

Open open a saved file ( the software storees data in xml format )
Save save your program to your computer( xml)
Clear will clear the timeline , which is used to remove all the servos on the timeline
Undo(hotkey:Z) delete the last added servos from the current timeline
Redo(hothey:y) restore the last deleted servos to the current timeline
Sample while adding 24 -way steering , one per line , in order to facilitate the user to debug , which will clear the servo has been added to the timeline.
Drag to add to add a new servo, note that it is rather special method of operation , when the cursor moves over it , hold down the left mouse button while dragging the mouse to the following timeline, at the right position and then release the mouse button, The adding of a new servo is complete, In the next step you can modify its parameters.
Play Mode Play Mode Playback mode selection, there are three options:
1.play only once<br>
2.back and forth<br>
3.loop playback<br>
Connect open the serial port, (connect with a Servo controller) COM29 serial port selection, to choose your corresponding Servo controller serial port , if not found , it will display “No Port” 57600 baud rate selection , the default value is 57600

Set the total time of timeline<br>

Drag the handle at the bottom of the timeline cursor , click to drag , thereby changing the current time<br>

Playback control area : return to the starting position , play, pause , stop<br>
How to get start ?
1.  Click the special button and drag to the timeline
- mouse pointing left and right sides and the middle part of the servo press and drag , you can change the start time of each servo and end time
- mouse pointing to the middle part of the servo press and drag , you can change the position of the servo
- mouse pointing left and right sides of the servo , servo can accurately enter the start time and end time
- mouse pointing left and right sides of the servo and double-click , you can input the start and end angle
- Right-click the mouse to the middle part of the servo or double-click , you can change the number of Servos
- Timeline mouse click and drag around the area, you can change the position of the current view of the timeline These are the basic methods of operation, after commissioning can be saved to your computer for the next use.
1.Press the button and then drag to the following timeline will add a new Servo.
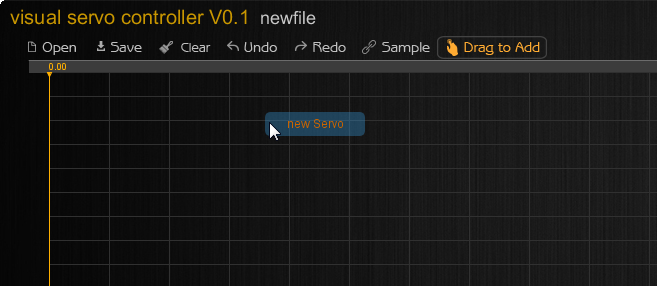
You can add many Servo like this
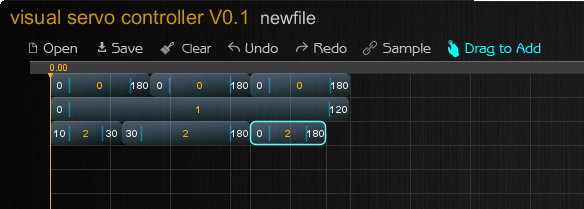
by clicked or double clicked in left or middle or right can open a window ask you input some data which is beginAngle, endAngle, beginTime, endTime, ServoId. If you want change the place of one Servo, just pressed the ServoId area and move
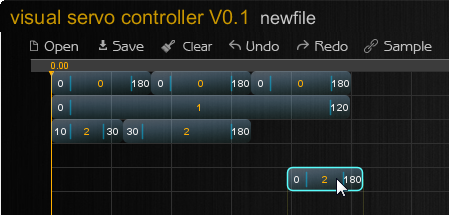
example
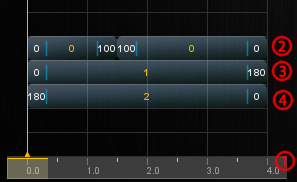
- the timeline total time is 4s
` - In 0 seconds to 1.5 seconds, Servo0 from 0 to 100 degrees, then In 1.5 seconds to 4 seconds from 100 to 0 degrees;
` - In 0 seconds to 4 seconds, Servo1 from 0 to 180 degrees;
` - In 0 seconds to 4 seconds, Servo2 from 180 to 0 degrees.
`
all-in-one picture
At last, this is picture will help you:
You use Mac?
you need run install.sh to install the configuration file to ~/.Virtual_Servo_Controller? then all is ready.