Introduction
An OLED (organic light-emitting diode) has many advantages over traditional LCD displays, including a faster response speed, thinner profile, lower power consumption and excellent shock resistance. An OLED can be widely used in mobile devices for display applications. Used in conjunction with a mini Arduino-based microcontroller such as the Beetle or CurieNano, it is a straightforward process to make a simple wearable application.
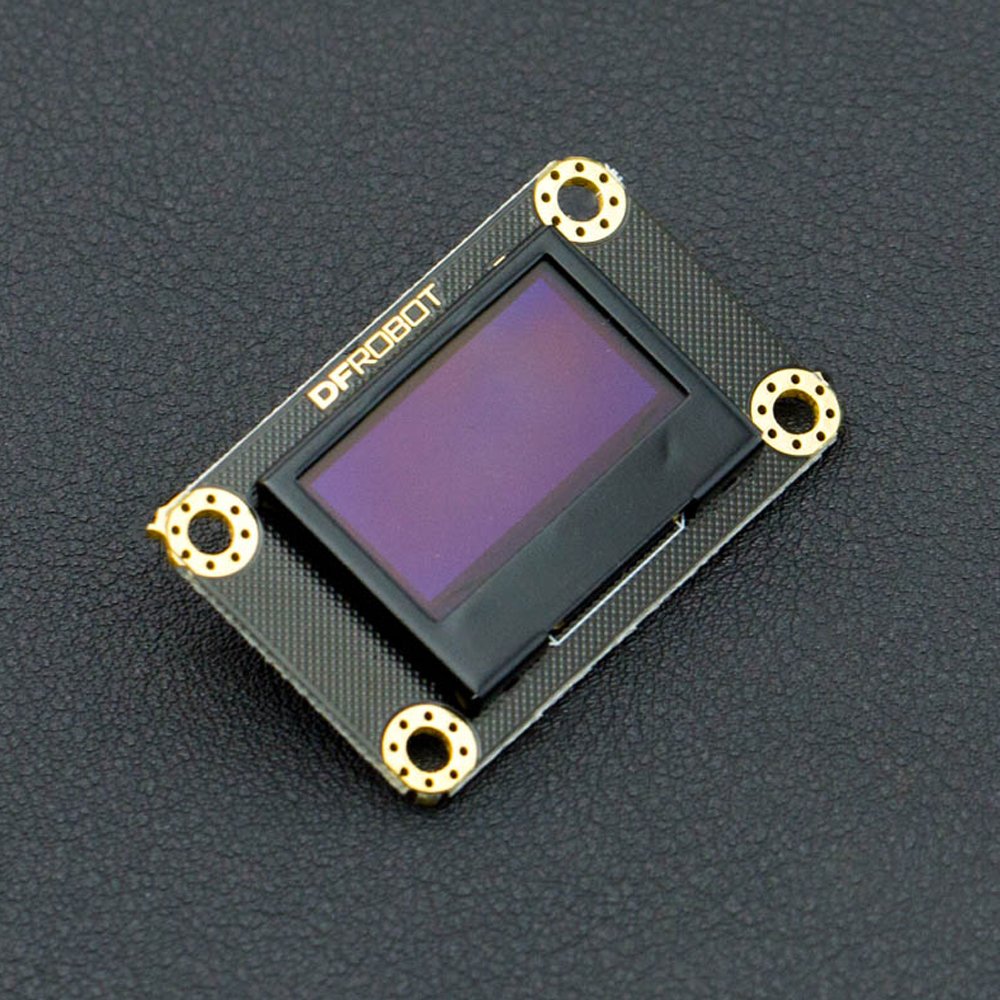
Our Gravity OLED 12864 display is a self-luminous display module with a blue background. The display areas is 0.96”and uses an IC SSD1306 chip. The OLED screen supports I2C communication and refresh rates of up to 60Hz. The module uses the Gravity I2C common interface for easy plug and play usage – meaning you can connect it without the need for wires - just plug it straight in to your device. The display bezel is constructed from aluminum alloy which protects the screen from scratches and damage.
Features
- Support Gravity-I2C interface, plug and play
- Cover the metal protection frame
- 4 x M3 screw holes for easy installation
- Support Arduino/Genuino 101 Device
Specification
- Operating Voltage: 3.3V ~ 5V
- Background Color: blue
- Pixels: 128 columns × 64 lines
- Interface mode: Gravity-I2C
- Scanning Rate: 60 frames per second
- Brightness: 60 (Typ) cd / m2
- Full screen power consumption: About 22.75mA
- Working Temperature: -30 ℃ ~ +70 ℃
- Display Area: 21.744 × 10.864 mm/ 0.85* 0.43 inches
- Module Size: 41.20 × 26.20 mm/ 1.62 * 1.03 inches
- Mounting Hole size: 35 x 20 mm/ 1.38 * 0.78 inches
- Module Weight: 15 g
Board Overview

| Num | Label | Description |
|---|---|---|
| 1 | VCC | 3.3~5V |
| 2 | GND | GND |
| 3 | SCL | I2C clock |
| 4 | SDA | I2C Data |
Tutorial
In this section, we'll show you how does it work.
Requirements
-
Hardware
- DFRduino UNO (or similar) x 1
- Gravity: I2C OLED-2864 Display x1
- M-M/F-M/F-F Jumper wires
-
Software
- Arduino IDE, Click to Download Arduino IDE from Arduino®
Connection Diagram

Sample Code
-
Download Arduino U8glib library first. (If you are using Arduino/Genuino 101, please use U8g2 library) How to install Libraries in Arduino IDE
-
Open Arduino IDE, File > Examples > U8glib > U8GLogo:
- Find '''U8GLIB_SSD1306_128X64 u8g(U8G_I2C_OPT_NONE | U8G_I2C_OPT_DEV_0); // I2C / TWI ''', uncomment it (Delete //).
![]()
Expected Results
Now, you will get the Logo on the display.
FAQ
| For any questions, advice or cool ideas to share, please visit the DFRobot Forum. |
|---|