Today we present the FlameWheel Robot assembly tutorial and quick-start guide! It is rather difficult to assemble this robot without guidance. Feel free to refer to my introductory
tutorial today.
Flamewheel (A 2WD Remote Control Robot) is part of our Education Robot Series. It is an agile two-wheeled robot with unique and innovative movement. Have fun assembling the robot yourself, while learning about electronics and mechanical principles.
Assembly
The materials we need to prepare beforehand are:
1. Models used for assembling the body~

2. Two DC motors


4. A cross screwdriver

5. A battery box and four AAA batteries~

Now let’s start the assembling:
Step one: assemble the inner shell
Remove four boards from the mould and assemble them as follows:

(Here is what it looks like when it’s finished):


Step two: assemble the back-up plate for the control board;
As shown in the following picture:


Step three: assemble the back-up plate for the battery box;
As shown in the picture below:

Beware not to confuse it with the bolt:

Step four: assemble the electric motor and get it fixed;
Put the two motors into the inner shell, fix the motor shafts onto appropriate positions, and plug them into the bolt as follows:

Rotate the bolt to clamp the two motors until it’s completely fixated:


Step five: assemble the control board and connect it with the motor;
Fix the control board onto the back-up plate with screws and connect it with the motor’s power cord:

The power line interface of the control board is shown as follows:


Step six: assemble the battery box and connect it to the control board;

Step seven: assemble the wheels;
Assemble the two gaskets first:

Install the wheels and clamp them with washer and screws:
Attention: spin the wheels to make sure smooth rotation!

After installing the wheels on both sides, the assembly is nearly done.

Debugging
We need the following materials in debugging:
1. Mobile Terminal APP: ‘GoBLE’ Bluetooth 4.0 controller (the current version only supports iOS system and iPhone/iPad. Download for free in App Store)
Download link:https://itunes.apple.com/cn/app/ ... qi/id950937437?mt=8
2. Arduino IDE
Official download link:https://www.arduino.cc/en/Main/Software/
Select Windows installer to download and install

Step One: Install GoBLE and Romeo.m library files
As it’s necessary to call the existing library functions from the sample programs, you need to add GoBLE (mobile Bluetooth communications App) in the Arduino library, as well as the library file of Romeo BLE mini board.
Download link for the library files:
Method of installation of GoBLE library file:
First, open the downloaded file and unpack it, find the library file and open it, copy the following three files:

Find the Arduino installation directory, find libraries file, and copy the three files listed above under this file:

Method of installation of Remeo library file:
Open the downloaded file and unpack it, copy it directly in the libraries file under the Arduino installation directory:

Until this stage, installation of the two library files are finished.
Step two:download the sample programs, open it up with Arduino IDE as follows:
/* -----Bluetooth two-wheel car control program

	1	//------2016.6.29 by LL

	2	//------Applicable to Romeo BLE mini controller

	3	//https://www.dfrobot.com.cn/goods-1182.html

	4

	5	#include "GoBLE.h"

	6	#include

	7	#define LED 13

	8

	9	int joystickX, joystickY;

	10	int buttonState[7];

	11	unsigned int led_count;

	12

	13	void setup() {

	14	  Romeo_m.Initialise();

	15	  Goble.begin();

	16	  pinMode(LED,OUTPUT);

	17	}

	18

	19	void loop() {

	20

	21	if (Goble.available())

	22	{

	23	      readGoBle();

	24	      motorContrl();

	25	  }

	26	  delayLedBlink();//delay 10ms and led blink

	27

	28	}

	29	//read all the GoBle button stick axes values

	30	void readGoBle()

	31	{

	32	    // read joystick value when there's valid command from bluetooth

	33	    joystickX = Goble.readJoystickX();

	34	    joystickY = Goble.readJoystickY();

	35	    // read button state when there's valid command from bluetooth

	36	    buttonState[SWITCH_UP]     = Goble.readSwitchUp();

	37	    buttonState[SWITCH_DOWN]   = Goble.readSwitchDown();

	38	    buttonState[SWITCH_LEFT]   = Goble.readSwitchLeft();

	39	    buttonState[SWITCH_RIGHT]  = Goble.readSwitchRight();

	40	    buttonState[SWITCH_SELECT] = Goble.readSwitchSelect();

	41	    buttonState[SWITCH_START]  = Goble.readSwitchStart();

	42	}

	43

	44	//control the little car’s movement according to GoBLE button values

	45	//mauve the stick to the left and right for big turns, press the keys on the left and right for pivot turns

	46	void motorContrl()

	47	{

	48	    if ((buttonState[SWITCH_UP] == PRESSED)||((joystickX>128)&&(joystickY>=64)&&(joystickY<=192)))

	49	    {

	50	      Romeo_m.motorControl(Reverse,200,Forward,200);//forward

	51	      return;//end sub function

	52	    }

	53

	54	    if ((buttonState[SWITCH_DOWN] == PRESSED)||((joystickX<128)&&(joystickY>=64)&&(joystickY<=192)))

	55	   {

	56	     Romeo_m.motorControl(Forward,150,Reverse,150);//backward

	57	     return;//end sub function

	58	   }

	59

	60	    if(buttonState[SWITCH_LEFT] == PRESSED)

	61	    {

	62	        Romeo_m.motorControl(Forward,100,Forward,100);//turn left

	63	        return;//end sub function

	64	    }

	65

	66	    if((joystickY<128 )&&(joystickX>=64 )&&( joystickX<=192) )

	67	   {

	68

	69	       Romeo_m.motorControl_M1(Reverse,80);//big turn to the left

	70	       Romeo_m.motorControl_M2(Forward,200);

	71

	72	        return;//end sub function

	73	   }

	74

	75	    if( buttonState[SWITCH_RIGHT] == PRESSED)

	76	    {

	77	        Romeo_m.motorControl(Reverse,100,Reverse,100);//turn right

	78	        return;//end sub function

	79	    }

	80

	81	    if((joystickY>128)&&(joystickX>=64)&&(joystickX<=192))

	82	    {

	83

	84	        Romeo_m.motorControl_M2(Forward,80); //big turn to the right

	85	        Romeo_m.motorControl_M1(Reverse,200);

	86

	87	        return;//end sub function

	88	    }

	89

	90	    Romeo_m.motorStop();//press to stop

	91	}

	92	//led blink function,delay 10ms every time before execution, perform a level reverse when execution reaches 100 times

	93	void delayLedBlink()

	94	{

	95	    delay(10);

	96	    led_count++;

	97	    if(led_count>100)

	98	    {

	99	      digitalWrite(LED,!digitalRead(LED));

	100	      led_count=0;

	101	    }

	102	}
Program brief analysis:
1 #include "GoBLE.h"
2 #include
This section calls two header files in order to use the library functions within; Define the LED lamp pin.
1 void setup() {
2 Romeo_m.Initialise();
3 Goble.begin();
4 pinMode(LED,OUTPUT);
5 }
Initializing the programs;
1 void loop() {
2 if (Goble.available())
3 {
4 readGoBle();
5 motorContrl();
6 }
7 delayLedBlink();//delay 10ms and led blink
8 }
The program in mainly consists of two functions. The first one is used for reading the GoBLE joystick values readGoBle(), the second is to process the function motorContrl() which
controls the car, plus a program that controls the delay flickering of Led lights;
1 void readGoBle()
2 {
3 // read joystick value when there's valid command from bluetooth
4 joystickX = Goble.readJoystickX();
5 joystickY = Goble.readJoystickY();
6 // read button state when there's valid command from bluetooth
7 buttonState[SWITCH_UP] = Goble.readSwitchUp();
8 buttonState[SWITCH_DOWN] = Goble.readSwitchDown();
9 buttonState[SWITCH_LEFT] = Goble.readSwitchLeft();
10 buttonState[SWITCH_RIGHT] = Goble.readSwitchRight();
11 buttonState[SWITCH_SELECT] = Goble.readSwitchSelect();
12 buttonState[SWITCH_START] = Goble.readSwitchStart();
13 }
14
Read the X and Y axes values from Goble.readJoystickX() and Goble.readJoystickY() library functions in readGoBle(). Read button values from Goble.readSwitchXXXX().
1 void motorContrl()
2 {
3 if ((buttonState[SWITCH_UP] == PRESSED)||((joystickX>128)&&(joystickY>=64)&&(joystickY<=192)))
4 {
5 Romeo_m.motorControl(Reverse,200,Forward,200);//forward
6 return;//end sub function
7 }
8
9 if ((buttonState[SWITCH_DOWN] == PRESSED)||((joystickX<128)&&(joystickY>=64)&&(joystickY<=192)))
10 {
11 Romeo_m.motorControl(Forward,150,Reverse,150);//backward
12 return;//end sub function
13 }
14
15 if(buttonState[SWITCH_LEFT] == PRESSED)
16 {
17 Romeo_m.motorControl(Forward,100,Forward,100);//turn left
18 return;//end sub function
19 }
20
21 if((joystickY<128 )&&(joystickX>=64 )&&( joystickX<=192) )
22 {
23
24 Romeo_m.motorControl_M1(Reverse,80);//big turn to the left
25 Romeo_m.motorControl_M2(Forward,200);
26
27 return;//end sub function
29
30 if( buttonState[SWITCH_RIGHT] == PRESSED)
31 {
32 Romeo_m.motorControl(Reverse,100,Reverse,100);//turn right
33 return;//end sub function
34 }
35
36 if((joystickY>128)&&(joystickX>=64)&&(joystickX<=192))
37 {
38
39 Romeo_m.motorControl_M2(Forward,80); //big turn to the right
40 Romeo_m.motorControl_M1(Reverse,200);
41
42 return;//end sub function
43 }
44
motorContrl() controls the little car’s movement according to the state values of buttons and the joystick;
The format of the library functions that controls the little car’s movement is as follows:
Romeo_m.motorControl(a,b,c,d); a and c are direction values applicable to Forward and Reverse respectively, which means moving forward and backward. C and d indicate speed of
the two motors respectively. The higher the values, the faster they rotate;
Remeo_m.motorControl_Mx(a,b); x is motor value,which points to either 1 or 2, a is direction value,which corresponds with Forward and Reverse,b is rpm value
Attention: why do the two motors rotate in the opposite directions when you control the little car to move forward? The answer is the motors were installed in the opposite
directions by us. Hence, if you want the two wheels rotate in the same direction, the two motors should rotate in opposite directions.
1 void delayLedBlink()
2 {
3 delay(10);
4 led_count++;
5 if(led_count>100)
6 {
7 digitalWrite(LED,!digitalRead(LED));
8 led_count=0;
9 }
This function is used for time-delay, as well as to control LED light flicking.
Step three, open Arduino download program
Select Arduino/Genuino Uno as the development board model from the toolbar, select the correct port number, debug and download the program.


STEP FOUR: open mobile App to debug
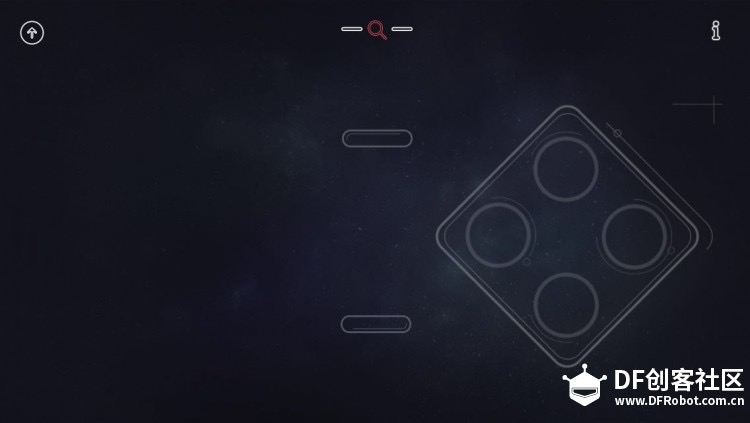
Open mobil App GoBLE (English version of ‘Zou Ni’), as shown in the picture below:

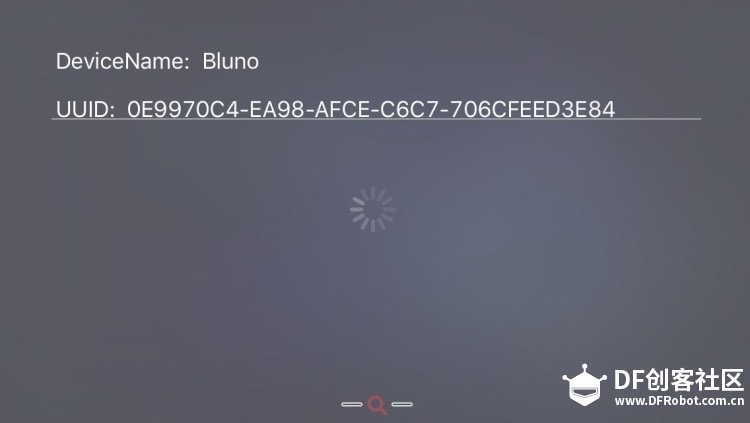
Download the program and connect the little car to power, open mobile Bluetooth, click the red search button, and search for Bluetooth single of the single chip, as shown below:

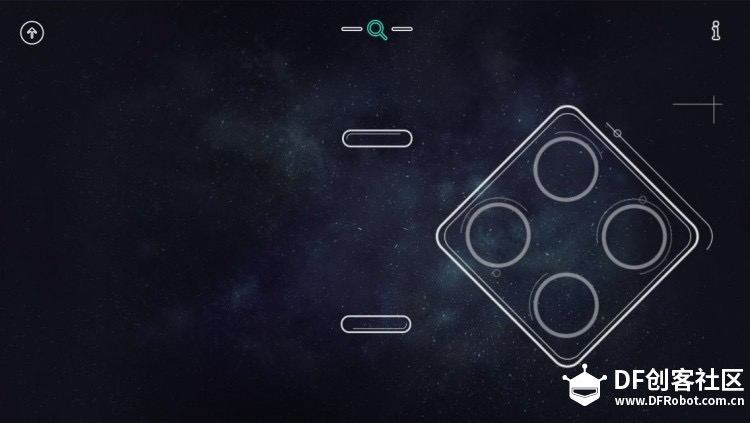
Click the correct model of single chip Bluetooth and get it connected. After successful connection, the search button will turn into green, as shown below:

Now you can control the car through virtual buttons and the joystick. Try each button and the joystick and see how they work.
v0.1 version function features
1、Motor drive
2、Mobile bluetooth control
V0.2 version
1、Optimize movement control (start, stop, constant acceleration and uniform deceleration)
2、Add obstacle avoidance function


