PROJECTS Arduino Scope:This project is going to walk you through how to use the XBoard with xbee along with another arduino to control some objects over your local network.
Hardware needed:
1. We will go through the XBoard setup first.


In the Arduino IDE go to "tools>Boards> Arduino Fio"
2. Setting up your arduino.
3. Test the whole shebang!
Using the Arduino Xboard to control a relay
DFRobot
Jul 05 2011 261212

This project will use an arduino, an Xboard, and a pair of xbee modules to control a relay. By using a relay you will be able to control any appliance you hook up to the relay. Also, you can easily expand by adding more relays and modifying the code a little. You can see a video of us using the XBoard to control our office door.
Scope:This project is going to walk you through how to use the XBoard with xbee along with another arduino to control some objects over your local network.
By: HJS
Date: Jul-06-2011
Actuator: Relay
CPU: 2 Arduinos
Pwr source: USB or wall wart.
Input: web page interface
Hardware needed:- 1 Arduino
- 1 Xboard
- 1 Relay
- 1 CAT5 cable
- 1 computer
- 1 Internet router
- hookup wire
1. We will go through the XBoard setup first.
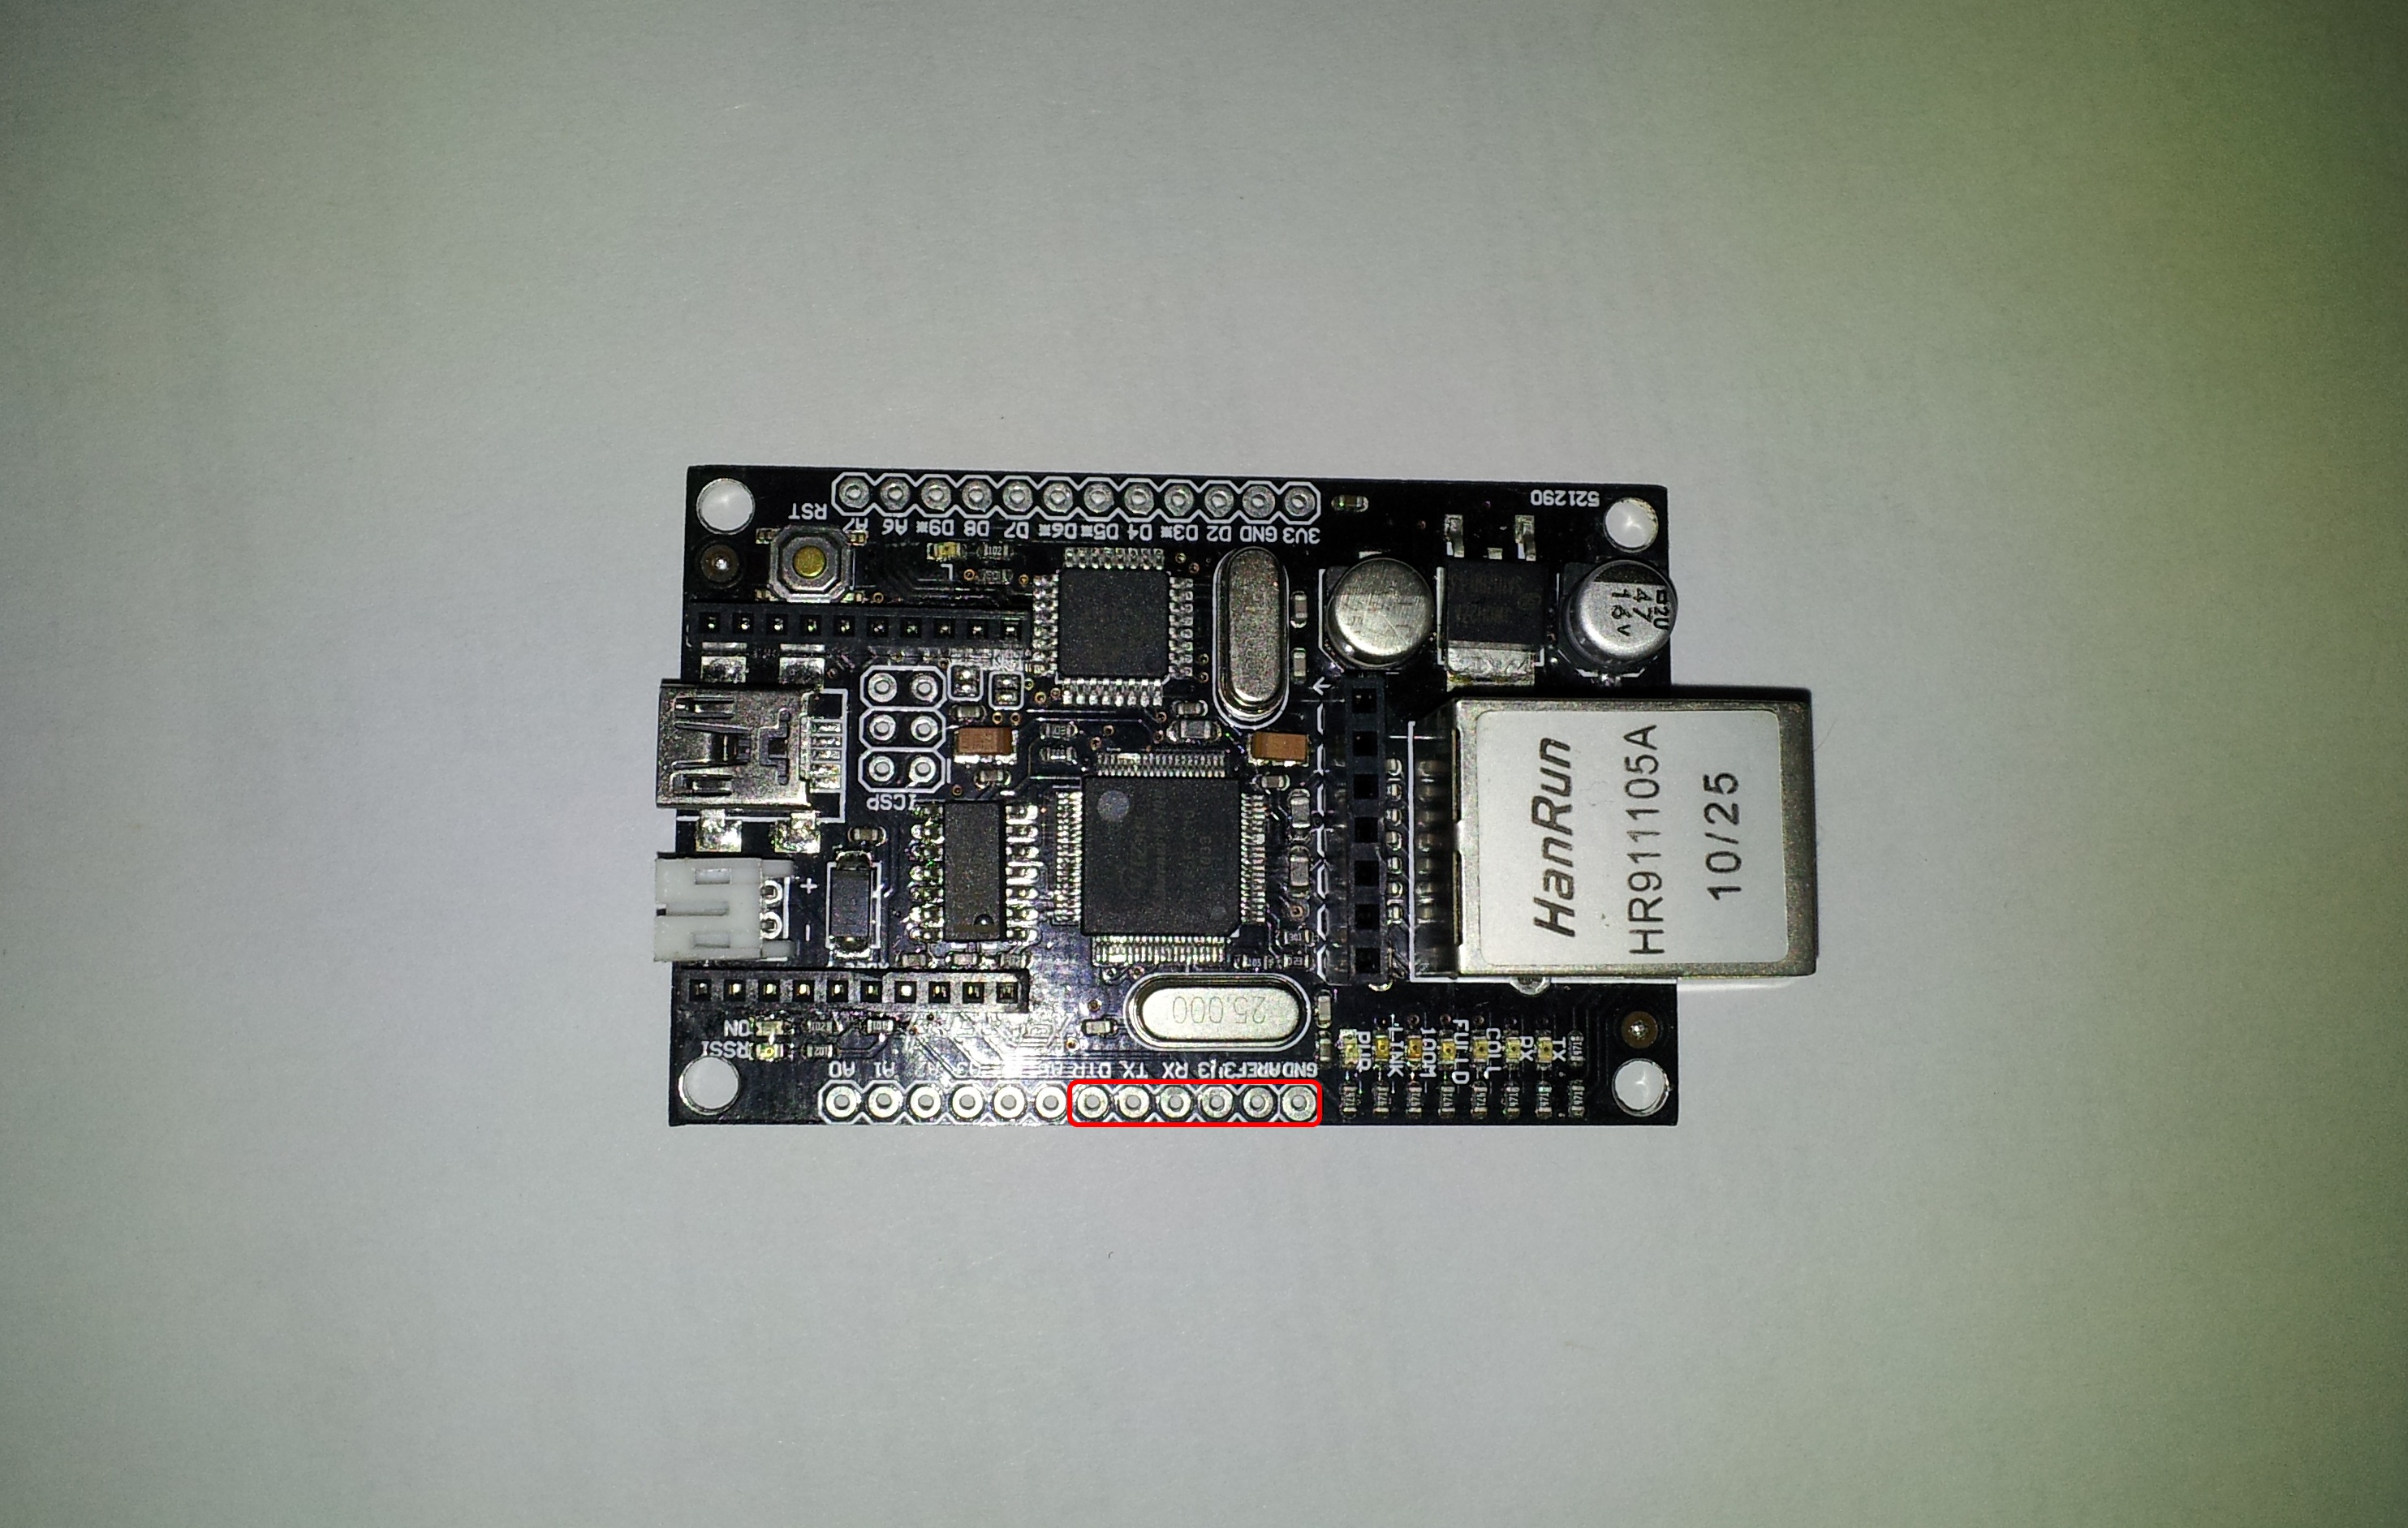
First you should solder on a male pin header on the Xboard for the FTDI programmer as pictured.

XBoard without the Headers installed

XBoard with the headers installed
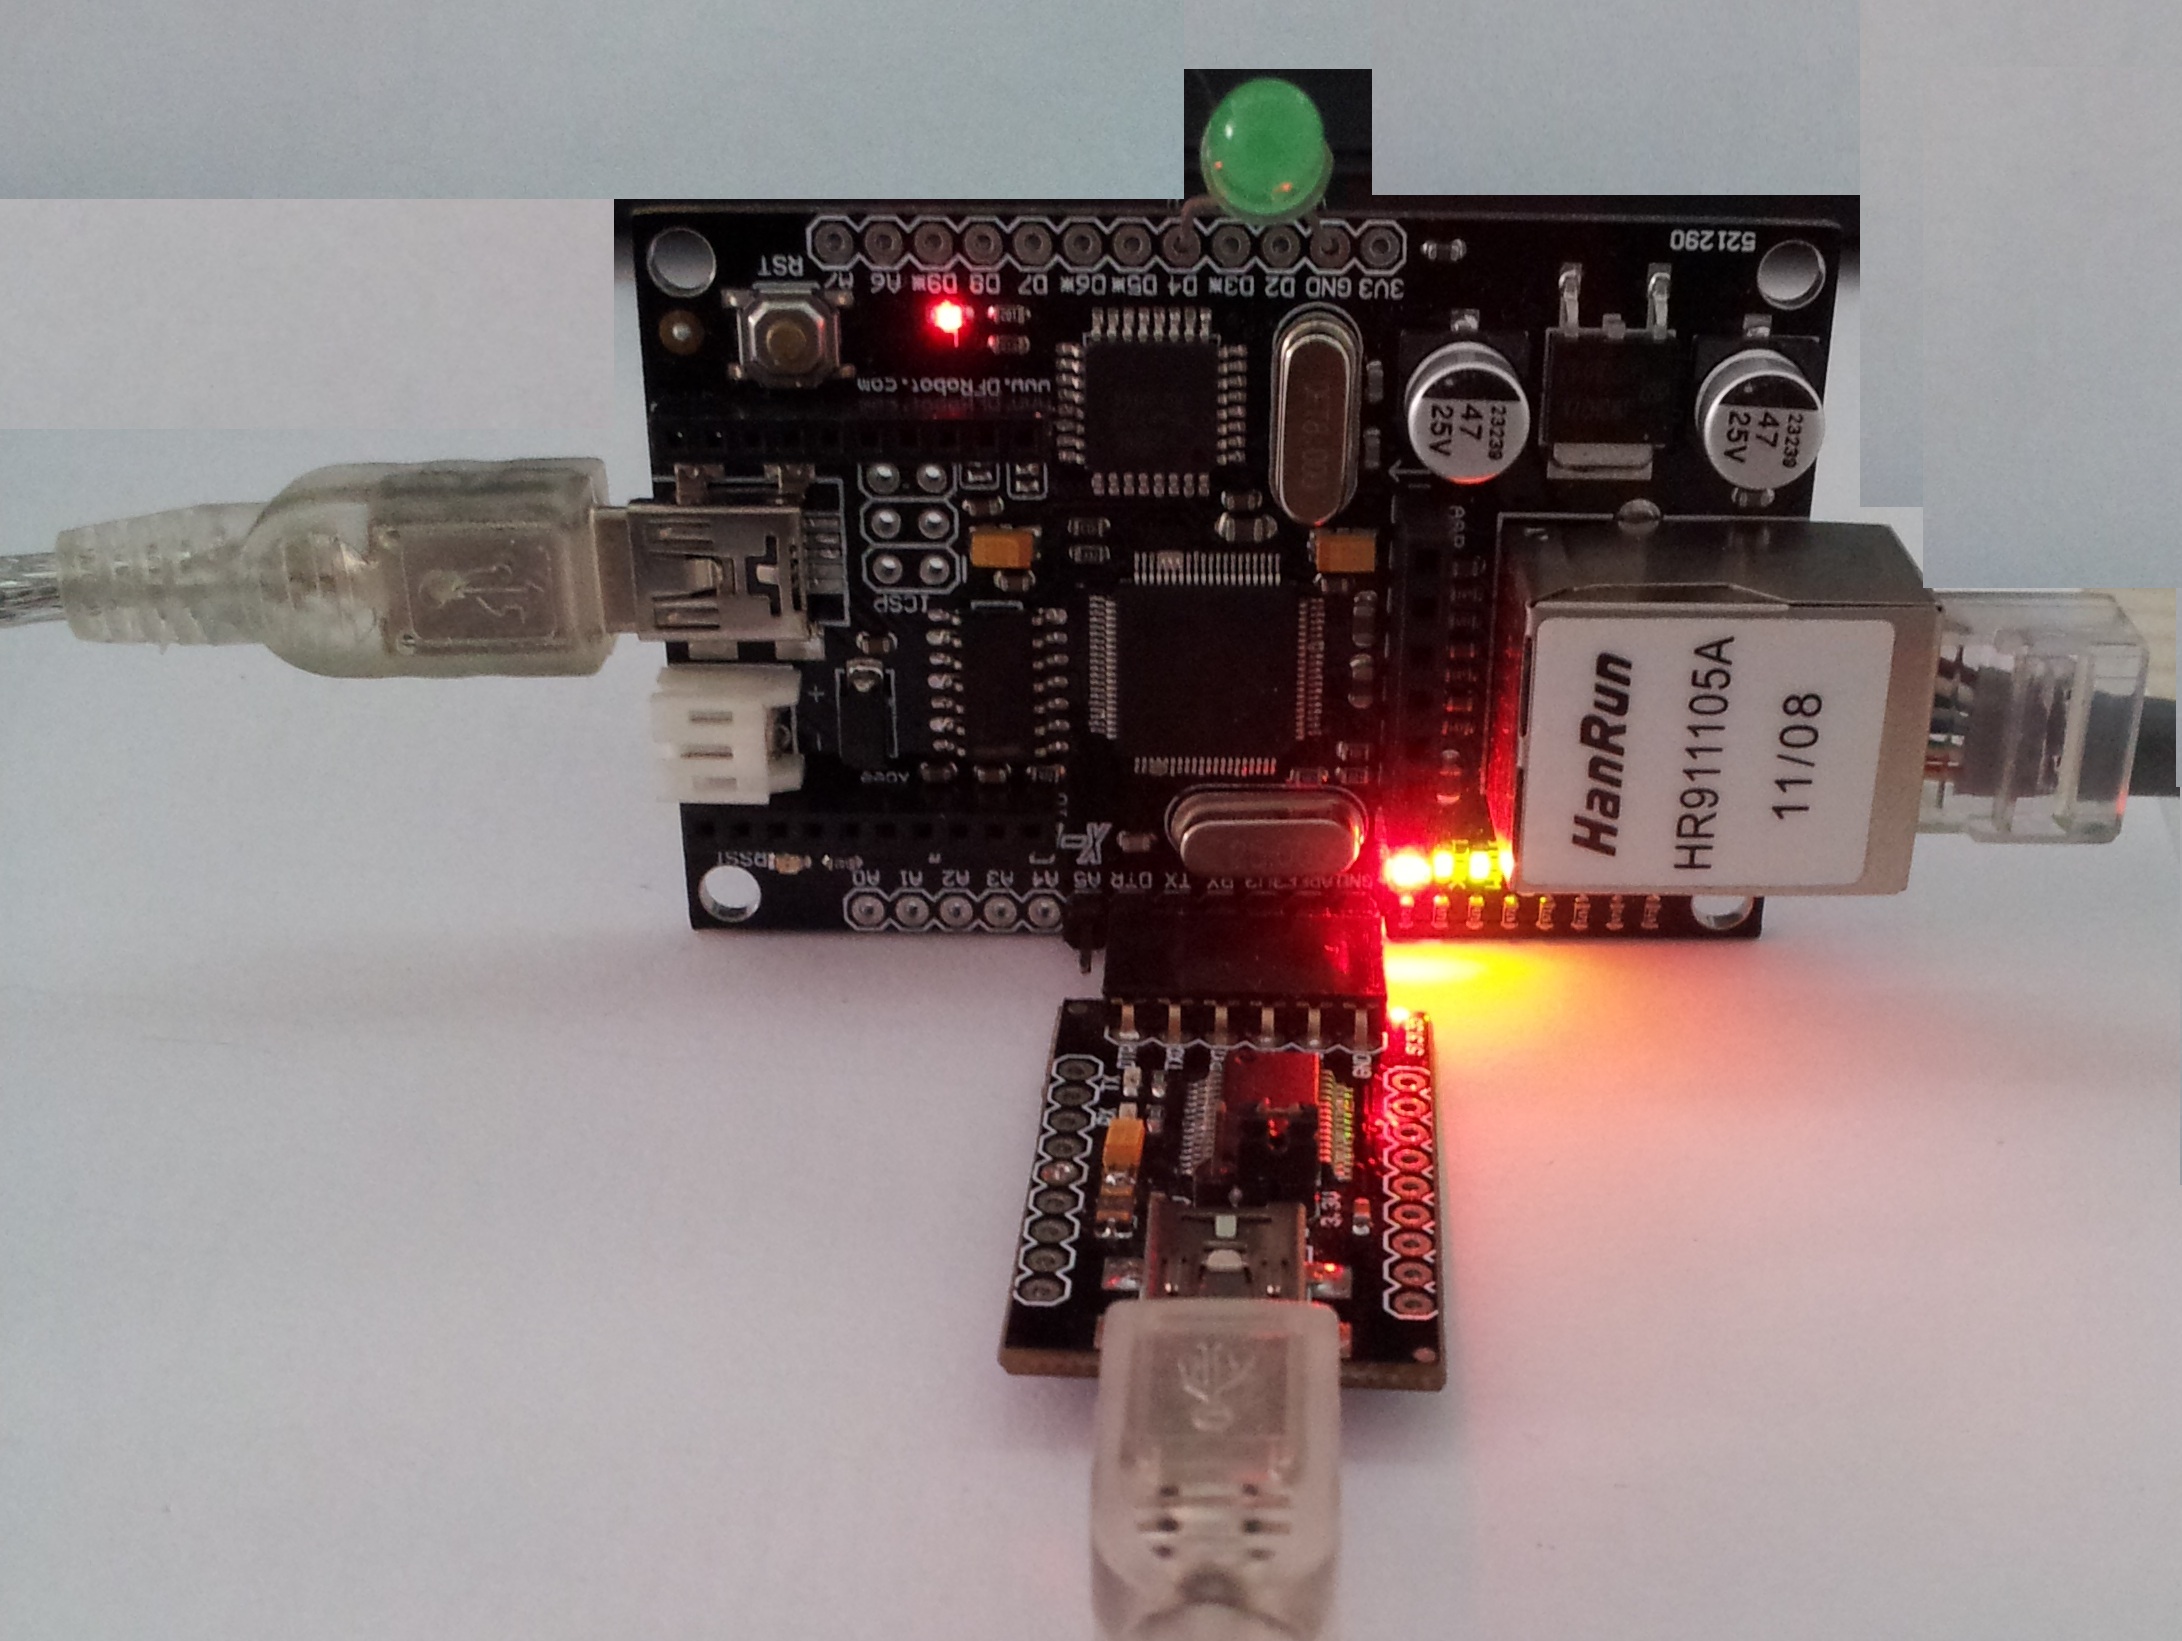
Use the FTDI programmer to program the XBoard.

FTDI connected to Xboard
In the Arduino IDE go to "tools>Boards> Arduino Fio"
copy and paste the Xboard code on to the Arduino IDE.
#include <Client.h>
#include <Ethernet.h>
#include <Server.h>
#include <Udp.h>
#include <SPI.h>
/*
 * Web Server
 *
 * A simple web server: Displays a button to open/close
 * a door and door status
 */
 //-----------------------BEGIN Variable setup -------------------------------

String readString = String(30); //string for fetching data from address
boolean LEDON = false; //LED status flag

int state;
int val=0;

byte mac[] = {
  0xDE, 0xAD, 0xBE, 0xEF, 0xFE, 0xED };
byte ip[] =  {
  192, 168, 0, 177 }; //Change your IP Address here
Server server(80); //Standard HTTP server port

//-----------------------END Variable setup-------------------------------

void setup()
{
  pinMode(4, OUTPUT);

  Ethernet.begin(mac, ip);
  server.begin();
  delay(100);
  Serial.begin(57600);  //XBee module Baud rate
  delay(100);
  }
void loop()
{
//---------------Web Server initialization------------------------------
  Client client = server.available();
  if (client) {

    boolean current_line_is_blank = true;
    while (client.connected()) {
      if (client.available()) {
        char c = client.read();
        if (readString.length() < 100)
      {

        readString += c;
      }
///////////Check button status to determine actions to take for submit button///////////////
       if(readString.indexOf("IO=1") >0){ // If door open request sent;
                                          // send instruction to remote arduino
             if (LEDON== false){          //Ensure it only send the info once
             //led has to be turned ON
             LEDON = true;                //Change LED state to print on the page
             Serial.print('G');           //Send command to remote Arduino
            }
           }
           if(readString.indexOf("IO=0") >0){//Same as above but not used in
                                             //this application
           if (LEDON== true){
             //led has to be turned OFF
             LEDON = false;
             Serial.print('K');
           }
           }
///////////////Finish checking and actions for submit button//////////////////

//------------------Standard web Server Jargon-------------------------------
        if (c == 'n' && current_line_is_blank) {
          // send a standard http response header
          client.println("HTTP/1.1 200 OK");
          client.println("Content-Type: html");
          client.println();
          client.println("<html>");
          client.println("<head>");
          client.println("<title>Xboard interface--Door control</title>");
          client.println("</head>");
          client.println("<body>");
          client.print("welcome to DFRobot"); //Print your own message here
          client.println("<br />");
          client.print("//*************************************");
          client.println("<br />");
          client.println("<br />");
          client.print("//*************************************");
          client.println("<br />");
          client.println("<br />");
          client.print("<form>");
          client.print("<input type=radio name=IO value=1 /> Open<br />");
          client.print("<input type=submit value=Submit </form><br />");
          client.println("</body>");
            break;
            }

        if (c == 'n') {
          // we're starting a new line
          current_line_is_blank = true;
        }
        else if (c != 'r') {
          // we've gotten a character on the current line
          current_line_is_blank = false;
        }
      }
    }
//------------------END Standard web Server Jargon-------------------------------

//-----------------Print door status on web page and auto refresh----------------
     if (LEDON){
          //printing LED status
         client.print("<font size='5'>DOOR status: ");
         client.println("<font color='green' size='5'>OPEN");
         client.println("<META HTTP-EQUIV=REFRESH CONTENT=2;url=http://192.168.0.177/>"); //Autorefresh
                        //Auto-refresh the site after 2 seconds to reset the door status to closed
     }
     else{
          client.print("<font size='5'>DOOR status: ");
          client.println("<font color='grey' size='5'>CLOSED");
     }
          client.println("<hr />");
          client.println("<hr />");
          client.println("</body></html>");
          //clearing string for next read
          readString="";
//-----------------END Print door status on web page and auto refresh----------------
    client.stop();
  }

/*Routine to read response from remote Arduino
 *and light local LED on PIN4
 */
   if (Serial.available() > 0) {
    val = Serial.read();
    if (val == 'H') { //These values ('H')can be changed to what ever you want
                      //just make sure you change them in both the server
                      //program and the client program
      digitalWrite(4, HIGH);
      delay (20);
     }
    if (val == 'L') {
      digitalWrite(4, LOW);
       delay (20);
    }
   }
}
Modify the IP address to fit your local network requirements. 192.168.X.177 You should check what your local IP address is and set the "X" to the same number as your network, usually "x=1". Also, modify the Serial baud rate to your Xbee module's speed.
Now upload the sketch, once that is done, you can plug the xboard in to your router using the CAT5 cable. Also, you can now mount the XBee module (remember to remove it every time you want to upload a sketch). Make sure you supply power to the XBoard. You can now test your webserver by pointing your web browser of choice to: 192.168.X.177 A plain text site should come up with some control options.
You can now set the XBoard aside. We are done with it.
2. Setting up your arduino.
You will need some sort of Xbee adaptor for the arduino. I recommend the DFRobot expansion shield as it will also make hooking up additional sensors and buttons easier.
But you could aslo use an Xbee USB adapter (you will need to solder on the header to hook it up to the arduino).
First lets modify the Serial baud rate to your Xbee module's speed. Then upload the sketch on to the arduino.
/*
 This example code is in the public domain.
*/
const int RELAY=2;
int val;

void setup() {
  pinMode(RELAY, OUTPUT);
  pinMode(13, OUTPUT);
  Serial.begin(57600);
  delay(500);
 Serial.print('L');
 digitalWrite(13, HIGH); //indicates locked positon
}

void loop() {

 if (Serial.available() > 0) {
    val = Serial.read();
    if (val == 'G') //If a 'G' is received unlock the door
    {
       Serial.print('H');//respond to server with aknowledgement
       digitalWrite(13, LOW); //indicates an unlock
      digitalWrite(RELAY, HIGH);//actuate relay to unlock the door
      delay (500);
      digitalWrite(RELAY,LOW); //disengage relay
      digitalWrite(13, HIGH); //turn on LED to indicate locked mode
      Serial.print('L'); //respond to server notifying door is locked
    }
    }

}

/* Note: you could add functionality to your project by adding a button on the outside of the door to function as a door bell.
additionally you would need some sort of notifier either on the Xboard (Spkr or LED or both) or on the webserver (blinking text).
*/


