Give me a group of lighting engineers!
The inspiration is from the catchword on the microblog, namely "the lighting engineer gets started, the sound engineer regulates the music to be a little sad, and give the microphone to this lady to talk about her story". The lighting engineer has no actual meaning and is mainly for setting off the one complained. Afterwards, it is derived as "Please start your performance!"
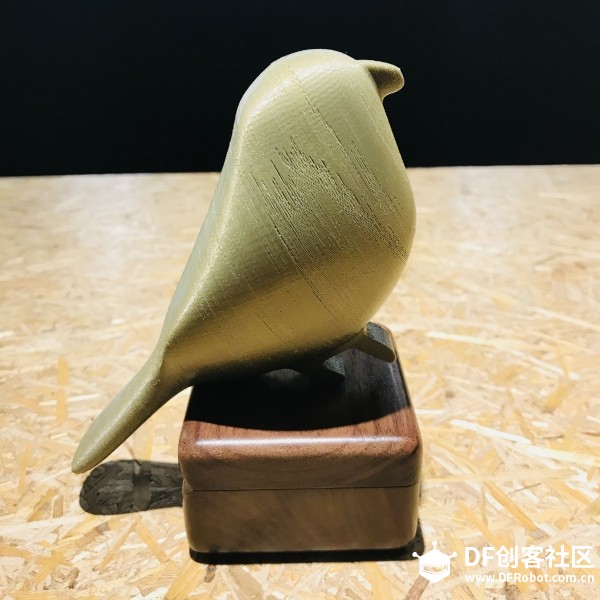
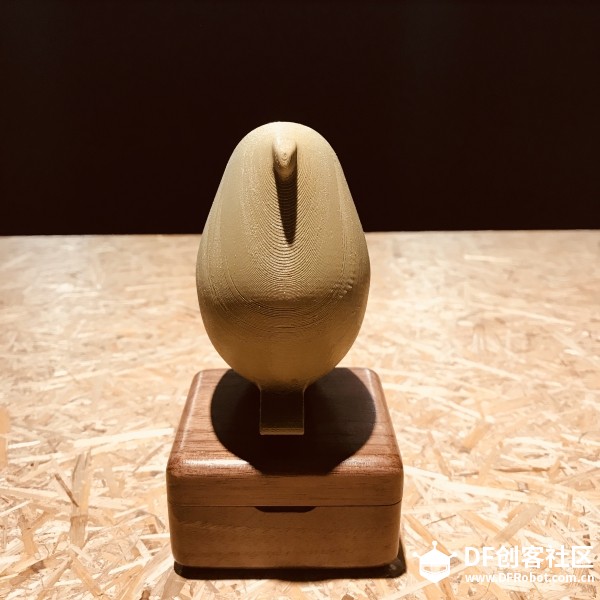
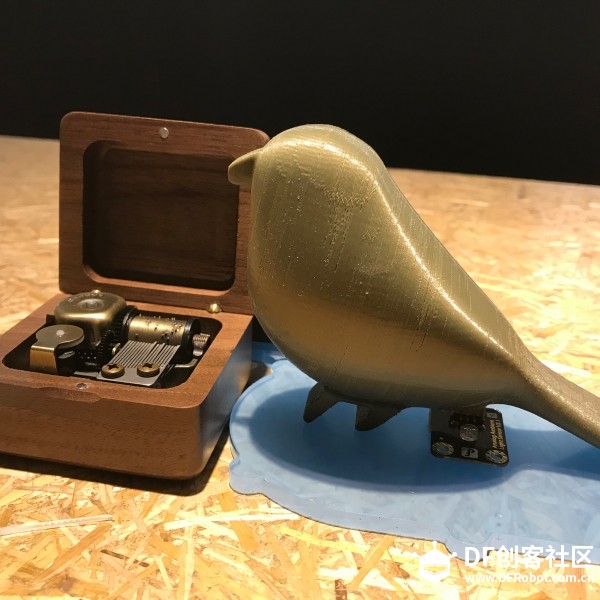
In this project, the simulated ambient light sensor (compatible with Arduino) is used to enable the "Chubby Bird" to achieve the interesting "stage effect", such as simulating others to speak and sing under the exposure of mobile phone (flashlight function).
Step 1: Materials purchase
List of materials:
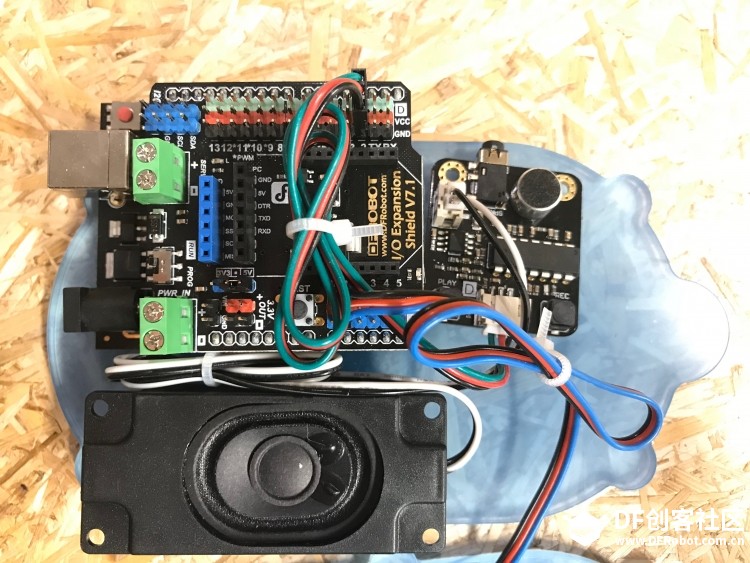
Step 2: assembly + Pin code
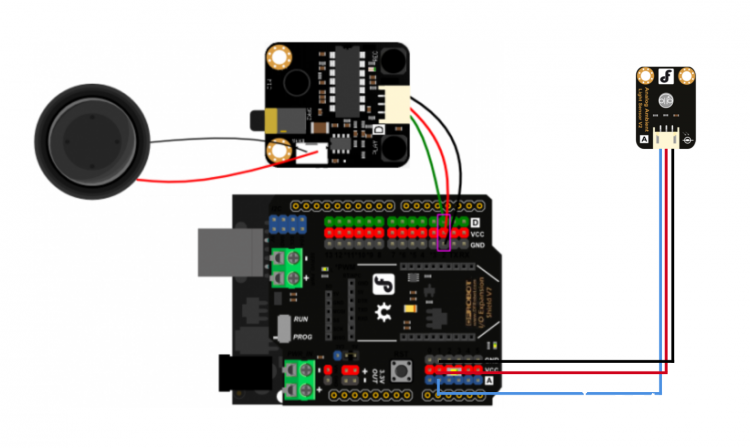
Thus, the audio recording and play module will be started to play the audio recorded previously when the simulated ambient light sensor receives the strong light exposure of mobile phone flashlight function.
Audio recording and play module: The audio recording and play functions are integrated. The plate is carried with key and microphone. The audio can be recorded and played directly through pressing the key. Press the key to record the audio and re-press the key to play it. Such function can achieve audio recording and play for 10 seconds. The output interface supports 3W horn connected externally at maximum and can be also connected to the active stereo externally.
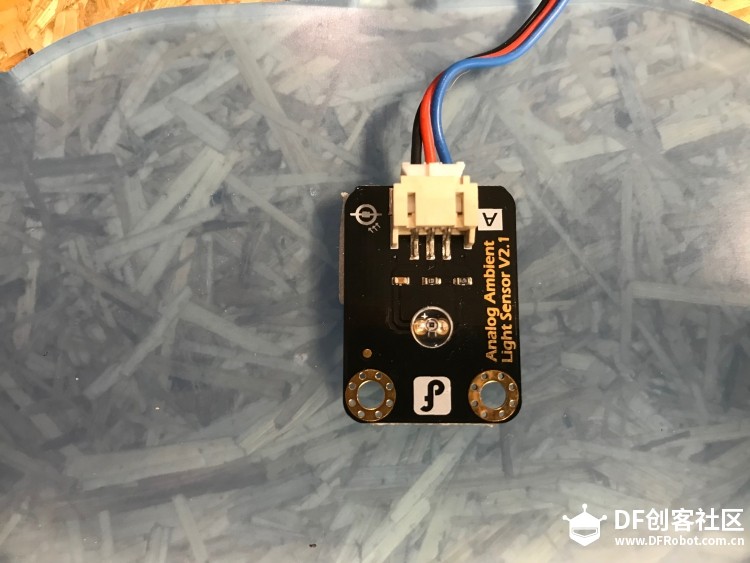
Simulated ambient light sensor: The sensor is the light sensor based on PT550 environment friendly photosensitive diode and can be used to detect the strength of ambient light.
Step 3: 3D printing model
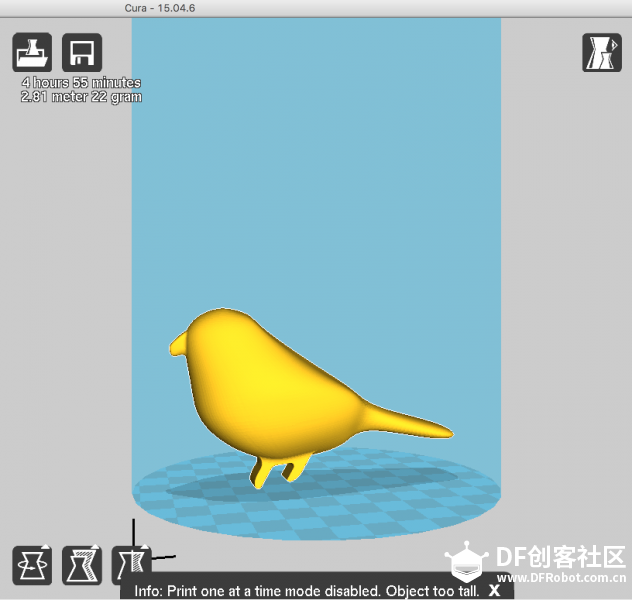
The model is from Fusion360 Community of Autodusk. The Gallery slice software is CUDA.
Note: Please note the model cooling during printing! The model better cooled will become smoother and more beautiful.
Step 4: Please start your performance!
The project has been built hereto. You may start playing lively. Either witty whistle or songs, the "Chubby Bird" will learn.
Operation instructions: 1. Press the button of audio recording and play module to record (content duration: less than 10s)
2. Shine the "Chubby Bird" with the flashlight mode of mobile phone to make him emit the audio recorded.
PS: The music box is only a sound production prop

This article will explore how to install and run Qwen2.5 on a Raspberry Pi 5 using the Ollama runtime framework.
REVIEWS Raspberry Pi
In this article, we will delve into the process of installing and running the SLM(small language model) Gemma2 on the Single Board Computer (SBC) Raspberry Pi 5 using the Ollama runtime framework.
REVIEWS Raspberry Pi
In this write-up, we delve into the process of installing and executing phi3.5-3.8b on a Raspberry Pi 5, leveraging the Ollama runtime framework.
REVIEWS Raspberry Pi