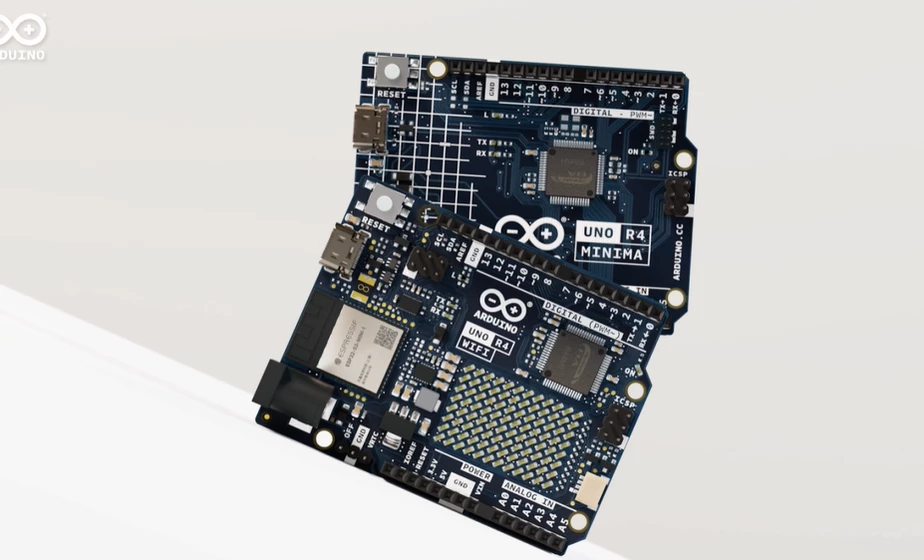


Arduino Uno Rev 3
Introduction
This is the new Arduino Uno Rev 3. In addition to all the features of the previous board, the Arduino Uno Rev 3 now uses an ATmega16U2 instead of the 8U2 found on the Uno (or the FTDI found on previous generations). This allows for faster transfer rates and more memory. No drivers needed for Linux or Mac (inf file for Windows is needed and included in the Arduino IDE), and the ability to have the Uno show up as a keyboard, mouse, joystick, etc.
The Arduino Uno R3 also adds SDA and SCL pins next to the AREF. In addition, there are two new pins placed near the RESET pin. One is the IOREF that allow the shields to adapt to the voltage provided from the board. The other is not connected and is reserved for future purposes. The Arduino Uno R3 works with all existing shields but can adapt to new shields which use these additional pins.
Arduino is an open-source physical computing platform based on a simple i/o board and a development environment that implements the Processing/Wiring language. Arduino can be used to develop stand-alone interactive objects or can be connected to software on your computer (e.g. Flash, Processing, MaxMSP). The open-source IDE can be downloaded for free (currently for Mac OS X, Windows, and Linux).
Warnings: The Arduino Uno R3 requires the Arduino 1.0 drivers folder in order to install properly on some computers. We have tested and confirmed that the R3 can be programmed in older versions of the IDE. However, the first time using the R3 on a new computer, you will need to have Arduino 1.0 installed on that machine. If you are interested in reading more about the changes to the IDE, check out the official Arduino 1.0 Release notes!
Specification
- ATmega328 microcontroller
- Input voltage - 7-12V
- 14 Digital I/O Pins (6 PWM outputs)
- 6 Analog Inputs
- 32k Flash Memory
- 16Mhz Clock Speed
Documents
Shipping List
- Arduino Uno R3 x1
Resource
Review
May 10, 2023
Very fast shipping. Thanks!


